How to Create Drum Patterns in FL Studio
How to Create Drum Patterns in FL Studio
Drum patterns shape the entire identity of a track. Whether you’re making hip-hop, trap, EDM, house, drill, pop, or cinematic music, the drums decide the groove, the energy, and how listeners react to your beat. Drum Patterns in FL Studio is one of the most popular DAWs for creating drums because it offers a beginner-friendly workflow while giving professionals precise tools for advanced programming. With its intuitive Channel Rack, Step Sequencer, Piano Roll, and Mixer, you can build drum patterns quickly and then polish them to professional-quality standards.
As you grow in music production, you’ll notice that even small changes — like moving a hi-hat slightly off-grid or adding a low-velocity ghost snare — can make your beat feel more human and more emotional. This guide breaks everything down step by step. From building your drum kit to creating patterns, adding groove, mixing, arranging, and applying pro-level tricks, you’ll learn exactly how to create drum patterns in FL Studio that sound clean, tight, and ready for release.
Preparing Your Drum Kit in the Channel Rack
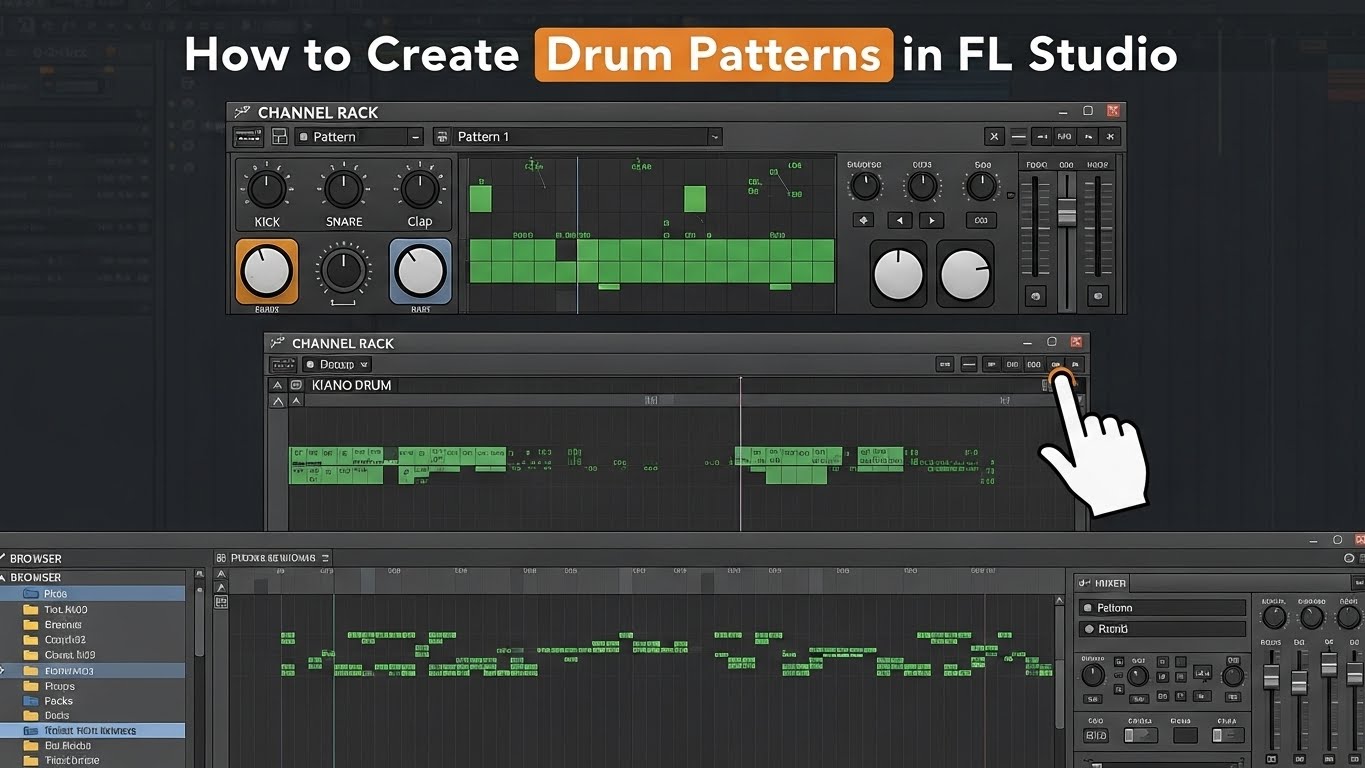
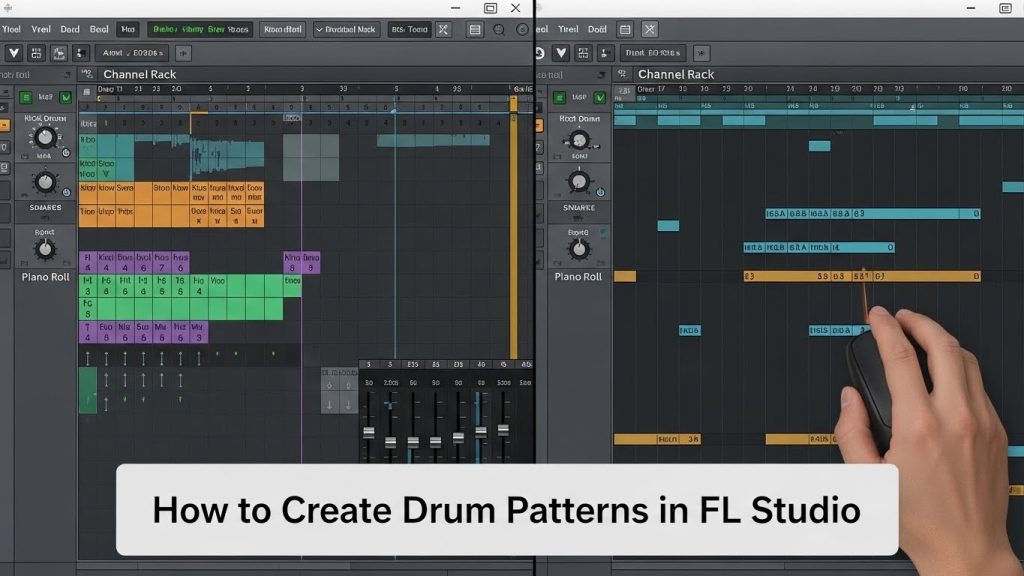
Before creating a pattern, you need a strong foundation — your drum sounds. Drum Patterns in FL Studio Channel Rack is where your drum kit lives. Here you load samples, rename them, route them to mixer tracks, and build the sequence.
How to Load Drum Sounds
- Open FL Studio
- Go to the Browser on the left
- Drag and drop:
- Kick
- Snare
- Clap
- Closed Hi-Hat
- Open Hi-Hat
- Rimshot
- Percussion
- Cymbals
- FX
- Your samples now appear in the Channel Rack
Organizing Your Rack (Important Step)
Right-click → Rename → Add Icon → Color-code → Route to Mixer Track
This is extremely helpful for bigger projects and keeps your workflow clean.
Tips for Choosing Good Drum Samples
- Use high-quality WAV samples
- For hip-hop/trap: choose punchy 808 kicks and crisp snares
- For EDM: use bright claps and tight hi-hats
- For lo-fi: pick soft, warm, dusty drums
The better the samples, the better your drums will sound even before mixing.
Creating Your Basic Kick and Snare Pattern
The kick and snare (or clap) form the heartbeat of your track. Start with a basic pattern and then tweak it depending on genre.
Common Drum Structure in 4/4 Time
- Kick: Beat 1 (and sometimes beat 3)
- Snare/Clap: Beat 2 and 4
Steps to Program the Pattern
- Open the Channel Rack
- On the Kick row → Place a hit on Step 1
- Add additional kicks depending on your groove
- On the Snare or Clap row → Add hits on Step 5 and Step 13
How Kicks Differ by Genre
| Genre | Kick Pattern Style |
|---|---|
| Hip-Hop | Bouncy, off-grid, irregular |
| Trap | Syncopated with surprise hits |
| EDM | Four-on-the-floor (1-5-9-13) |
| Drill | Sliding 808s & spaced kicks |
| Lo-Fi | Soft, laid-back feel |
Start simple — complexity comes later.
Adding Closed Hi-Hats for Rhythm
Closed hi-hats give motion to your drum pattern and help define its speed and flow.
Basic Hi-Hat Pattern
Place a hi-hat every two steps (1/8 note pattern). This works in almost all genres.
Creating Variation
You can make the pattern more interesting by:
- Adding double hits
- Adding triplet rolls
- Using alternating velocities
- Using hi-hat rolls
Automatic Tools in FL Studio
FL Studio has amazing tools for building modern hat patterns:
1. Randomizer (Alt + R)
Adds small timing and velocity changes.
2. Automatic Rolls (Alt + A)
Generates hi-hat rolls instantly.
3. Shift Tool (Alt + S)
Adds swing for natural movement.
Pro Tip
Lower the velocity for certain hi-hats to avoid robotic patterns. Human variation makes a big difference.

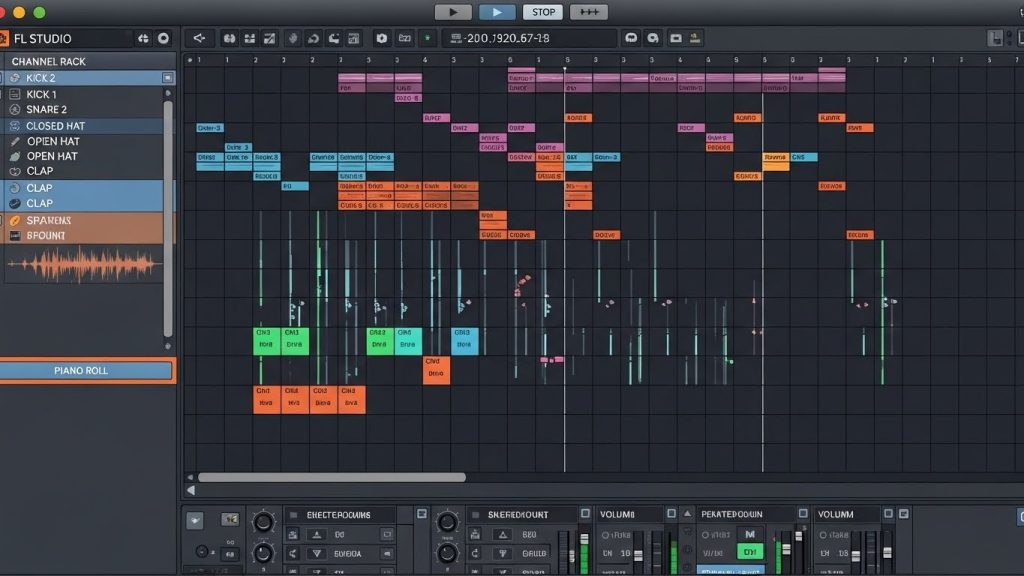
Using the Piano Roll for Detailed Drum Control
While the Step Sequencer is simple, the Piano Roll is where real drum programming happens. Here, you control timing, velocity, note length, and creative rolls Drum Patterns in FL Studio.
Why Use the Piano Roll
- Add realistic human feel
- Draw complex rhythms
- Make trap hi-hat rolls
- Adjust timing off-grid
- Control every small detail
How to Open Piano Roll
Right-click any drum → Piano Roll
Inside Piano Roll: Key Tools
Velocity Control
Lower velocities make ghost notes, higher velocities make accents.
Note Length
Shorter notes create tighter grooves.
Grid Settings
Change the grid to:
- 1/4
- 1/8
- 1/16
- 1/32
- Triplets
This helps create advanced patterns.
Time Shift
Move notes slightly forward or backward for natural bounce.
5. Adding Percussions to Build Groove
Percussion transforms a simple loop into a full groove.
Types of Percussion
- Rimshots
- Shakers
- Congas
- Bongos
- Woodblocks
- Snaps
- Toms
- Claves
Where to Place Percussions
- Between snare hits
- Just before a kick
- On off-beat positions
- At transitions
- In the second half of the bar to add variation
Use Panning
Spread percussions across stereo to make your drum loop interesting.
Layering Drum Sounds for a Bigger Impact
Layering means stacking multiple samples together to create one powerful drum hit.
Why Layer?
- Make kicks deeper
- Make snares fuller
- Add texture to hats
- Add attack or body to a sound
How to Layer in FL Studio
- Place two samples on the same step
- Adjust volume levels
- Use EQ to carve space:
- Remove lows in claps
- Boost mids for snare crack
- Add top-end sparkle to hats
- Add transient shaping to match punch
- Route each layer to separate mixer tracks if needed
Layer Examples
- Snare + Clap for hip-hop
- Two hats (bright + soft) for texture
- Kick + Sub-kick for EDM
Using Swing and Groove for Human Feel
Swing adds a natural rhythmic feel by shifting certain notes slightly off-grid.
Global Swing Knob
Located at the top of the Channel Rack.
Turning it up slightly (10–20%) adds:
- Groove
- Bounce
- Human feel
Best Genres for Swing
- Hip-Hop
- Trap
- Lo-Fi
- R&B
Avoid too much swing for:
- EDM
- House
- Techno
Mixing Your Drum Pattern Like a Professional
Even the best drum pattern needs proper mixing to sound great.
Step 1: Route Each Drum to the Mixer
- Kick → Track 1
- Snare → Track 2
- Hats → Track 3
- Percs → Track 4
- FX → Track 5
Step 2: EQ Your Drums
Kick EQ
- Boost 60–100 Hz for body
- Cut 200–300 Hz to remove mud
- Boost 3–5 kHz for attack
Snare EQ
- Boost 200 Hz for thickness
- Boost 5–7 kHz for crack
- Add small high shelf for brightness
Hi-Hat EQ
- High-pass up to 200 Hz
- Boost 8–10 kHz for sparkle
- Reduce harshness around 6–8 kHz
Step 3: Compression
Compression helps glue or control your drum layers.
- Light compression on hats
- Medium compression on snares
- Avoid over-compressing kicks
Step 4: Transient Shaping
Use Fruity Limiter (Envelope mode) or Transient Processor to add punch.
Step 5: Reverb
Use very little reverb on drums — unless you’re making lo-fi or ambient music.
Step 6: Saturation
Add warmth and fullness:
- Fruity Blood Overdrive (low amount)
- Soft Clipper
- Waveshaper
Arranging Drum Patterns into a Full Song
Once your main drum pattern is ready, transform it into a full beat.
Create Pattern Variations
- Pattern A: Main drums
- Pattern B: Add rolls
- Pattern C: Add percussions
- Pattern D: Breakdown (minimal drums)
- Pattern E: Build-up
Place Patterns in the Playlist
Common arrangement structure:
- Intro
- Verse
- Pre-Chorus
- Chorus
- Bridge
- Outro
Add Transitions
- Crashes
- Risers
- Reverse cymbals
- Drum fills
Pro Arrangement Tricks
- Remove kick in verses
- Add rolls before the hook
- Add open hats in the chorus for extra energy
- Use automation for volume, filter, and reverb
Advanced Drum Tricks to Improve Your Patterns
These techniques bring your drums to the next level.
1. Ghost Notes
Soft snares or percs between main snare hits.
2. Velocity Variation
No drum should play at the same velocity — variation makes it natural.
3. Pitch Variation
Slightly change hat or perc pitch for unique sound.
4. Reverse Drums
Reverse snares or hats to build tension.
5. Pan Automation
Move percs from left to right for motion.
6. Drum Breaks
Insert a 1-bar break before a hook.
7. Sidechain Compression
Sidechain hats, percs, or full drum bus for EDM and trap.
8. Parallel Compression
Duplicate your drum bus → Compress heavily → Blend with original.
Final Thoughts
Creating drum patterns in Drum Patterns in FL Studio becomes easier and more enjoyable once you understand structure, rhythm, sound selection, and mixing. Start with a strong kick and snare foundation, add hi-hats for movement, introduce percussions for character, and then shape everything through layering, swing, and precise mixing. With practice, you’ll be able to create professional-quality drum patterns that stand out in any genre Drum Patterns in FL Studio gives you all the tools you need — all that’s left is your creativity and experimentation.